
Coupon codes are a great way to attract customers and encourage sales in your WooCommerce store. This step-by-step tutorial will guide you through the process of creating and managing coupon codes in WooCommerce.
Step 1: Log in to Your WordPress Dashboard
Begin by logging into your WordPress admin dashboard. You’ll need administrative access to create and manage coupons in WooCommerce.
Step 2: Navigate to WooCommerce Coupons
From the dashboard, hover your mouse over Marketing, and click Coupons.
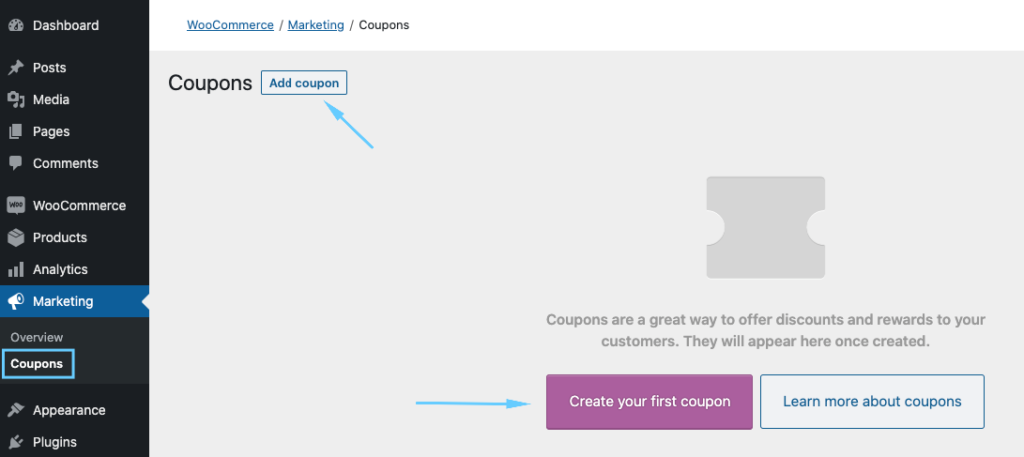
Step 3: Add a New Coupon
Click on the Add Coupon button at the top of the page.
Step 4: Enter the Coupon Code and Description
Coupon Code: Enter a unique code that customers will use at checkout. Make it simple and easy to remember.
Description: Optionally, add a description for your reference. This is useful if you have many coupons and need to distinguish them.
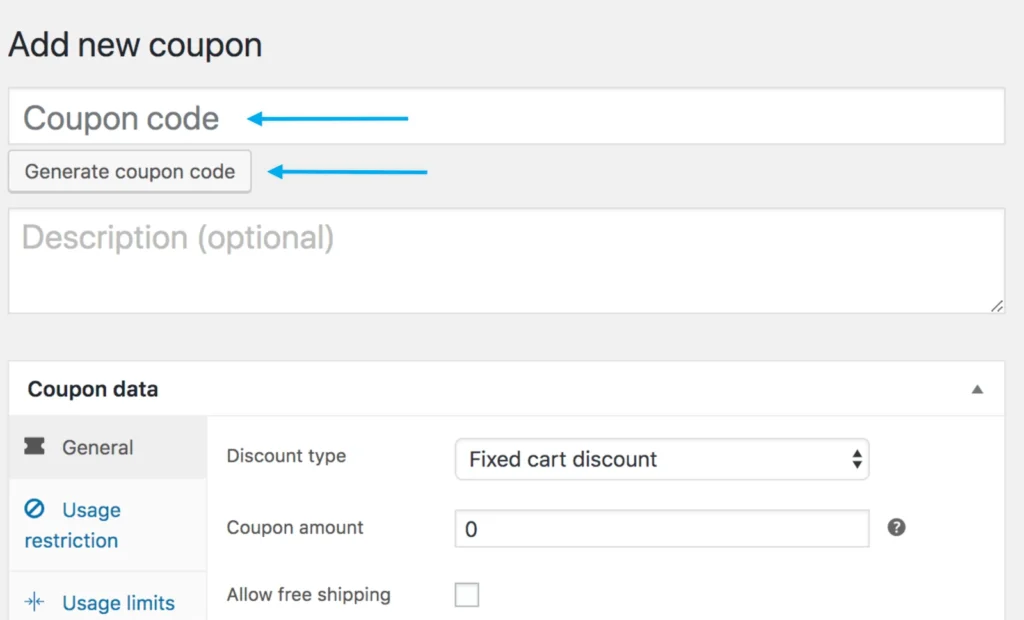
Step 5: Configure Coupon Data
Discount Type – Choose the type of discount you want to offer:
- Percentage discount: A percentage off the cart total.
- Fixed cart discount: A fixed amount off the cart total.
- Fixed product discount: A fixed amount off each product.
- Coupon Amount: Enter the value of the discount. For percentage discounts, enter the percentage (e.g., 10 for 10% off). For fixed discounts, enter the amount (e.g., 20 for $20 off).
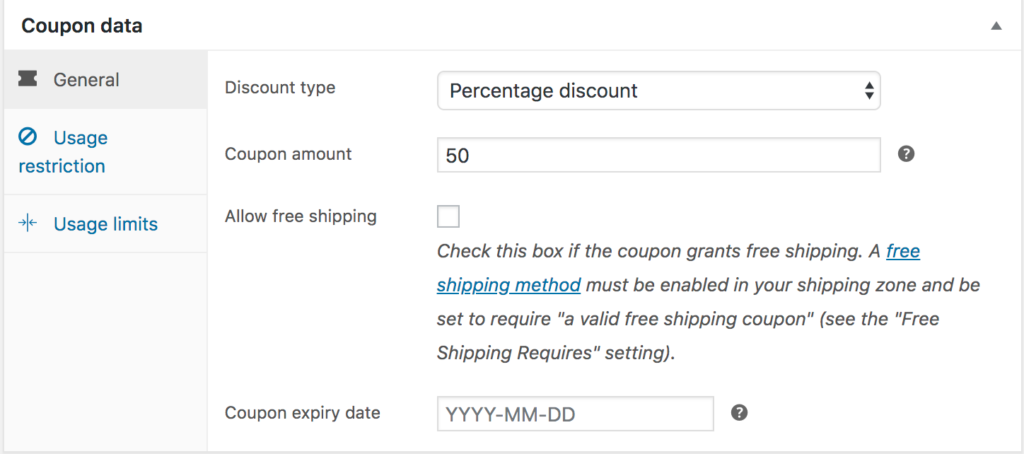
You can also customize other ways the coupon works, like Allow free shipping, set a Coupon expiry date, etc.
Usage Restrictions – Keep your coupons under control, with features like:
- Minimum and maximum spend: Control the cart total that must be reached before the coupon can be applied.
- Individual use only: Check this box if the coupon cannot be used in conjunction with other coupons.
- Exclude sale items: Check this box if the coupon should not apply to items on sale.
- Products: Specify which products the coupon can be applied to. Leave blank to apply to all products.
- Exclude products: Specify products that the coupon cannot be applied to.
- Product categories: Limit the coupon to specific categories.
- Exclude categories: Exclude specific categories from the coupon.
- Usage limits per coupon or per user: Set the maximum number of times the coupon can be used, and the number of times a single user can use the coupon.
Step 6: Publish the Coupon
Once you have configured all the settings, click the Publish button. Your coupon is now active and ready to be used by customers.
Step 7: Manage and Track Coupons
To manage your coupons, navigate back to Marketing > Coupons. Here, you can see a list of all your coupons, edit existing ones, or add new ones.
Tips for Effective Coupon Management
Promote Your Coupons: Use your website, email newsletters, and social media to inform customers about your coupons.
Monitor Usage: Keep track of how often coupons are used and their impact on sales. Adjust your strategy as needed.
Set Expiry Dates: Encourage quick purchases by setting expiry dates on your coupons.
Test Different Types: Experiment with different discount types and amounts to see what works best for your store.
Creating coupon codes in WooCommerce is a straightforward process that can significantly boost your sales and customer engagement. Follow these steps to start offering attractive discounts to your customers today!
And as always, if you need more help, just reach out to Gavamedia for support.
Discover more from GAVAMEDIA
Subscribe to get the latest posts sent to your email.