
Gavamedia is a website builder that provides its users with the ability to create beautiful websites without the need for coding. One of the key features of Gavamedia is its integration with Elementor, a powerful drag-and-drop page builder that allows users to create stunning designs for their websites.
In this tutorial, we will be focusing on how to insert an image into your Gavamedia website using Elementor. We will walk you through the step-by-step process, so you can add images to your website quickly and easily.
Step 1: Accessing the Elementor Editor
The first step in adding an image to your Gavamedia website using Elementor is to access the Elementor editor. To do this, you must first log in to your WordPress account. Once you have logged in, go to “pages” and on any specific page you would like, click on the “Edit with Elementor” button, and the Elementor editor will open.

Step 2: Adding an Image Widget
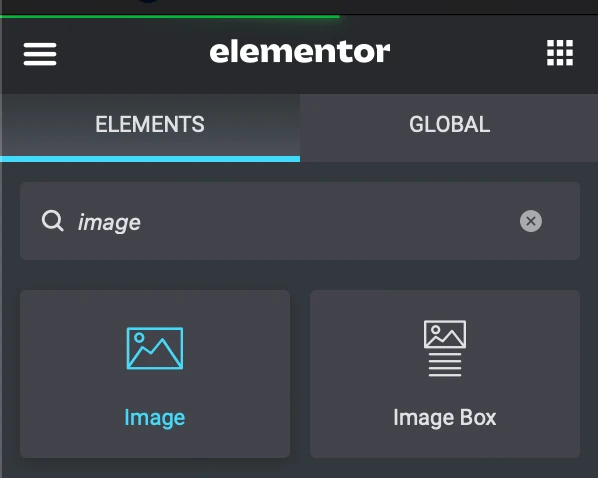
Once you are in the Elementor, you can start adding an image to your website by adding an image widget. To do this, simply click on the “+” button in the Elementor editor and search for the “Image” widget. Click on the “Image” widget to add it to your page.
Step 3: Uploading the Image
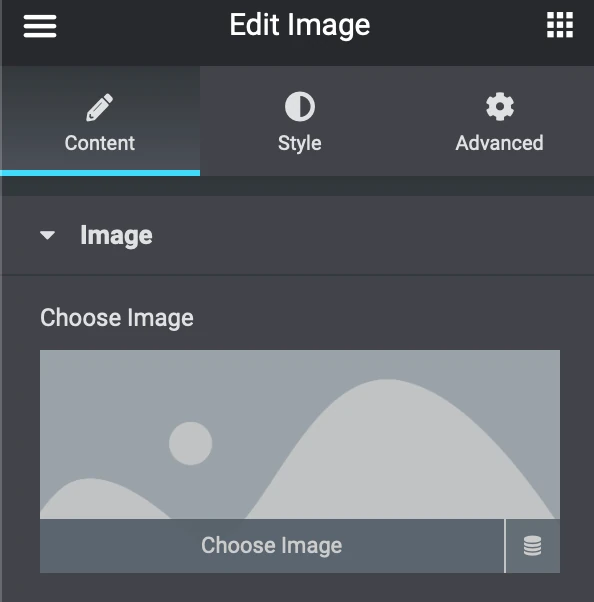
After adding the image widget to your page, you will be prompted to upload the image that you want to use. To do this, click on the “choose image” button and select the image file that you want to use. You can also choose to use an image that is already in your media library by selecting the “Media Library” tab and choosing the image that you want to use.
Step 4: Customizing the Image
Once you have uploaded the image, you can customize it by adjusting the image size, adding alt text, and adding a caption. You can do this by clicking on the image widget and using the options that appear in the Elementor editor.
Step 5: Saving and Publishing
Finally, once you have added the image and customized it to your liking, you can save and publish your changes. To do this, simply click on the “Publish” button in the Elementor editor and your changes will be saved and published to your website.
Adding an image to your Gavamedia website using Elementor is a simple process that can be done in just a few steps. By following the steps outlined in this tutorial, you can quickly and easily add images to your website, helping to make it more engaging and visually appealing to your visitors. So why not give it a try and see how easy it is to add images to your Gavamedia website using Elementor? If you are having trouble still adding images to your websites, Gavamedia is always willing to help you out. Don’t hesitate to email us or give us a call.
Discover more from GAVAMEDIA
Subscribe to get the latest posts sent to your email.